How to Properly Upscale a Photo for Printing & Displaying
What is the Best Image Quality for Printing?
When printing images, quality plays a major role in how sharp the photo looks. DPI stands for "dots per inch" and is responsible for a clear image. As you'd assume, the fewer dots per inch of your printed photo, the lower the resolution will be. On the other hand, the more dots per inch, the higher the resolution will be. To avoid grainy images, you'll need a high DPI. The best image quality for printing is 300 DPI and above. While 150 DPI may be acceptable, the higher the better.
What is the Best Image Size for Displaying?
Finding the ideal image size for displaying is important. Interestingly, the ideal image size for displaying will vary based upon the device you are viewing it off of. Listed below are the recommended sizes for each type of device.
- Mobile Devices
(Includes smartphones and other small devices)
Image Size: 320 x 240 pixels
- Standard Computer Monitors
(Includes viewing on sharing sites and for emails)
Image Size: 1024 x768 pixels
- Full-Screen Size
(Includes LCD monitors)
Image Size: 1280 x 1024 pixels
- Standard Definition TV
Image Size: 720 x 576 pixels
- Widescreen Standard Definiton TV
Image Size: 1280 x 720 pixels
- High Definition TV sets
Image Size: 1920 x 1080 pixels
What is Photoshop?
Photoshop is an editor developed by Adobe. It is mainly used by professionals. It is versatile and can be used for many purposes.
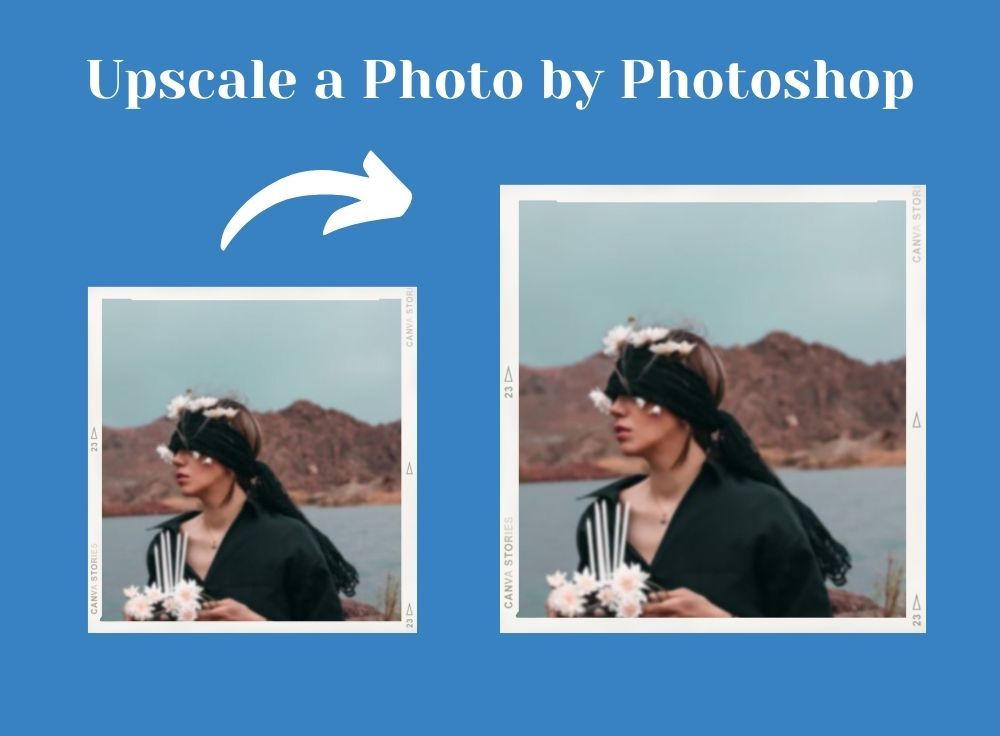
How to Upscale a Photo in Photoshop?
- Step 1: Open the image you want to upscale in Photoshop.
- Step 2: Go to Edit, then Preferences, then Technology Previews.
- Step 3: Check the feature "Enable Preserve 2.0 Upscale".
- Step 4: Return to the image and click Image, then Image Size.
- Step 5: Next, open the resample list and click "Preserve Details 2.0".
- Step 6: Select the percentage you want to increase the image by typing it in.
How to Batch Upscale Images in Photoshop?
To enlarge multiple images at one time, you need to create a Photoshop Action. Follow the details and get the fast tip.
- Step 1: Make sure all images you wish to enlarge are put in the same folder.
- Step 2: Create another folder that can be named as “Photo Resized Folder”.
- Step 3: Choose an image and open it in Photoshop.
- Step 4: Go to Window > Actions. Click a square shape (at the bottom of the Actions menu) to create a new action.
- Step 5: Name your Action in a dialog box. Then click Record.
- Step 6: Click Image>Image Size and you will see the Image Size dialog box appearing.
- Step 7: Enter a new value for Width and Height options. You can also change dimensions.
- Step 8: Click OK to apply your changes. Then go to File > Save As to store the upscaled image to the folder named “Photo Resized Folder”.
- Step 9: Go to Actions, click a square shape to end the record.
- Step 10: Go to File > Automate > Batch. Under the Batch window, you can choose “Set”, “Actions”, “Source”. Click “Choose” and all images in the folder will be upscaled and saved automatically.
Pros & Cons of Upscaling in Photoshop
Pros:
- Can be an easy process ONLY once an "Action" is created in photoshop.
- An Action will allow you to save time on post-processing.
- There is no limitation for upscaling numbers. You can process plenty of pictures at one time.
- All process is finished offline. Your images and your privacy are protected well.
Cons:
- Takes a lot of time to set up upscaling features.
- May not be the exact dimensions for each photo.
- The image may lose quality after being upscaled.
Where to Download Photoshop
You can download Adobe Photoshop from the Adobe website under the Creative Cloud. You will be prompted to Sign In or Create an Account.
If you have any questions about the installation and usage of PhotoShop, read the step-by-step guide offered by the official site here: https://helpx.adobe.com/photoshop/tutorials.html
What is ImgUpscaler?
Imgupscaler is a tool that allows you to efficiently upscale and enhances images with cutting-edge AI (artificial intelligence) technology. Most importantly, it supports batch processing and is a great bulk image upscaler.
This software provides a photo enlargement service online, so you don’t need to install any application on your desktop. Meanwhile, the free account is supported to upscale up to 10 images per week. Last but not least, all enlarged images can be downloaded for free and without any watermark on them. Anyway, imglarger offers an awesome solution to increase image resolution.
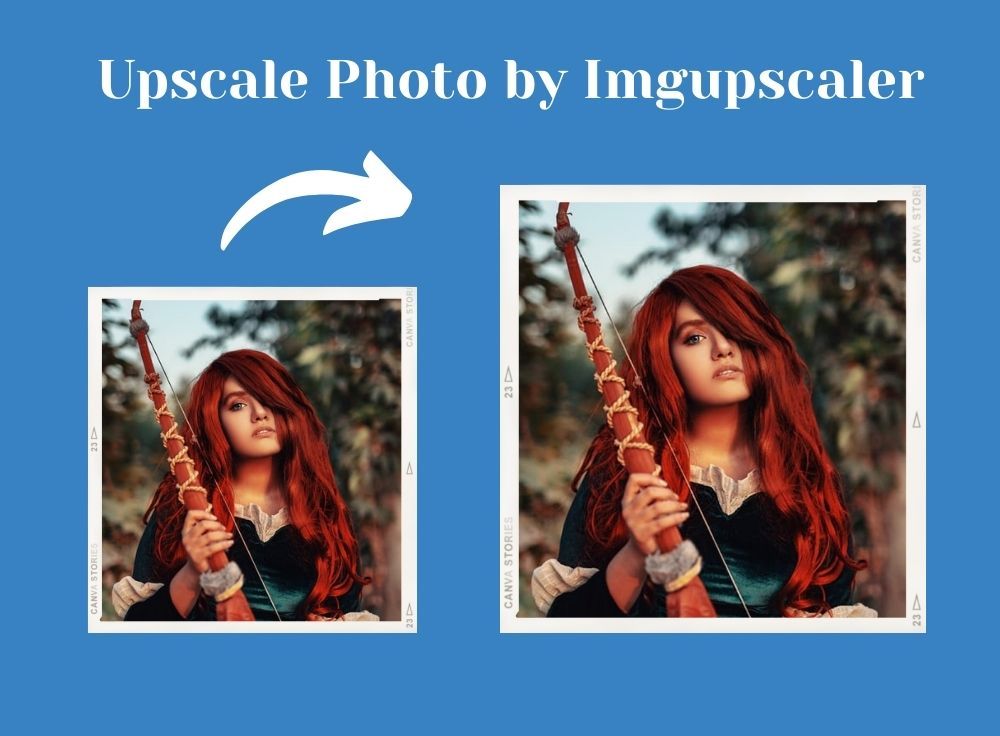
How to Upscale a Photo on ImgUpscaler?
- Step 1: Upload your file by Dragging or Dropping it.
- Step 2: Click “Start” to make the process start.
- Step 3: AI technology scans the image and enlarges the photo up to 4K without losing quality.
How to Batch Upscale Images on ImgUpscaler?
- Step 1: Drag or Drop all photos at one time. Or you can choose to upload pictures one by one.
- Step 2: Click the “Start” button after all target images have been uploaded on the platform.
- Step 3: AI technology scans the images and enlarges all photos without sacrificing any quality metrics.
- Step 4: Wait for a minute, preview the effects, and save all images by clicking “download”.
Want to know more tips and tricks to upscale a small photo without app download? Access the guide right now: Upscale Your Small Photos in 1 Minute: No App Installed.
Pros & Cons of Upscaling on ImgUpscaler
Pros:
- Extremely easy to use compared to other services such as Adobe Photoshop.
- Batch upscaling can be completed within minutes.
- Upscale photos to 4k for free
- No skills are required, friendly for beginners.
- Safe and secure. Your privacy won't be leaked out for any commercial purpose.
Cons:
- ImgUpscaler is not as "well-known" as Adobe Photoshop.
- You need to get a pricing plan to enjoy ultimate features.
Where to Access ImgUpscaler?
Simply visit ImgUpscaler.com and begin by dragging or dropping a photo for processing. This software supports multiple browsers and operating systems. You can easily visit the site via different platforms as long as the internet is connected.
Which Service is Best for Batch Upscaling?
Not only is ImgUpscaler extremely quick and efficient, but it also uses cutting-edge AI technology to automate the process. This eliminates the risk of human error. In Photoshop, you must go through several steps to upscale. Furthermore, to batch process in Adobe Photoshop, an "Action" must be created. With ImgUpscaler, the process is much simpler and user-friendly. There are fewer steps involved. ImgUpscaler's process is more efficient. The output quality is exceptional, upscaling up to 4K resolution.
How to Check Photo Resolution Quickly?
Select the file you want to check and right-click for "Properties." Next, click on "Details" for image resolution and dimension. Read the checking tutorial below.
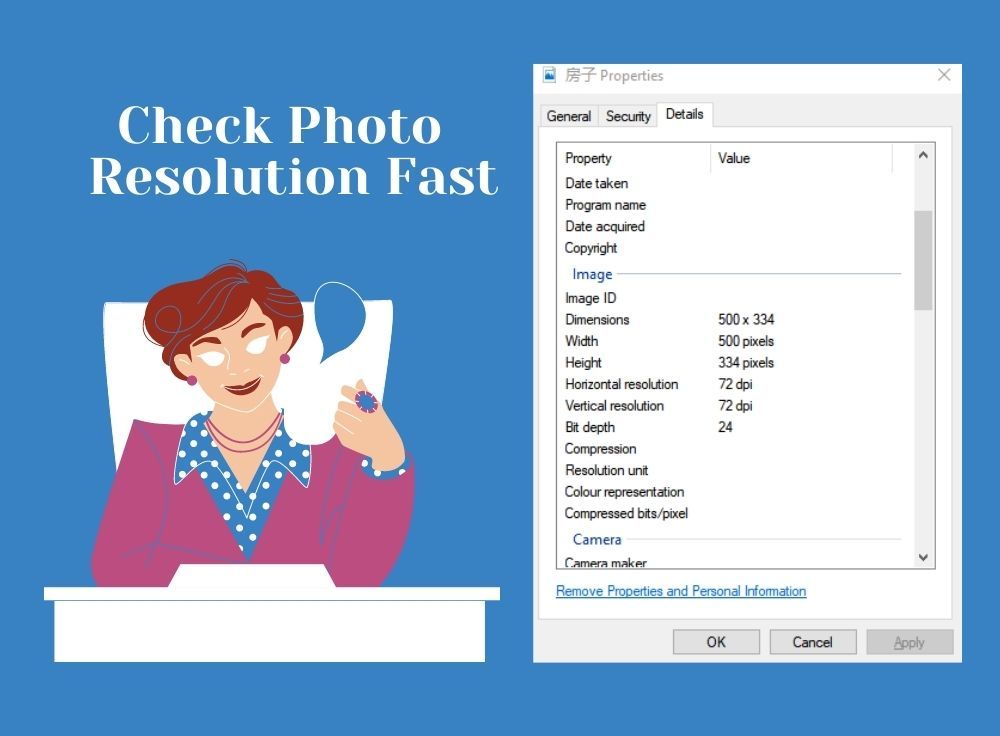
- Step 1: Select the image you want to check the resolution for it.
- Step 2: Right-click the image and there will be a menu where you are going to choose “Properties”.
- Step 3: Click “Properties” and open the “Impress Your Properties” dialog box.
- Step 4: Click “Details” and you will see the image's resolution and dimension.
Conclusion:
Upscaling a photo is extremely important for enlarging a photo properly. Unoptimized images will slow down a website. In other words, the user experience will be poor with a slow website. This translates to a lower ranking for all Google searches and therefore less interest in your website. The consequences of this are fewer customers. Speed, user experience, search engine ranking, and customer sales are greatly enhanced when an image is optimized.
Whether for printing or display, a high-resolution photo is always necessary. We have analyzed the proper image size for different devices and screens, and we show you two ways to increase the image size. You can upscale photos by photoshop because the “Actions” operation is really powerful. Otherwise, you can choose imgupscaler to enlarge photos to 4K automatically. It takes the hassle out of setting up and saves your time greatly.
Read The Imgupscaler Comprehensive Review on Trendstorys
ImgUpscaler Review: Best Image Upscaler in 2021?